

Knowing how to hang pictures without nails or screws is an invaluable DIY skill. Especially if you’re a renter desperately trying to spruce up that bland wall without your landlord ever finding out.
Many leases limit what you can do to your walls, and even if a few small holes count as normal wear and tear, you’re still the one patching and touching up paint the week you move out. That’s why so many renters end up living with bare walls for the length of a lease.
There are plenty of ways to decorate your space without marking or damaging your walls – and we’ve listed ten below. So, if you’re renting, or you don’t feel like getting the toolbox out, start with the two quick checks that decide which method will actually hold.
How to Hang Pictures on a Wall Without Nails: Check the Wall First
- Adhesive products are fussy about what they stick to, so run a hand over the wall before you buy anything. Command strips and hooks are usually made for smooth surfaces such as painted drywall or tile, but if you use them on a freshly painted wall, you’ll probably remove some paint in the process.
- You also need to consider the weight of what you’re hanging, and check the weight limit of any product you plan to use to make sure it’s strong enough.
1. Picture Hanging Strips
Removable hanging strips like Command Strips are a renter’s best friend. They are ideal for hanging items such as frames, artwork, or even irregularly shaped pieces that are difficult to hang with picture hooks.
Smaller strips are great for lightweight wall decor, while larger strips also work for heavy pictures and mirrors.
They have adhesive on both sides, making them extremely easy to use. All you have to do is stick the strips to an item and adhere the other side to the wall.
Wipe the spot with rubbing alcohol first, if you can, since household sprays can leave a film that the adhesive won’t grip; then press the strips onto the frame and the frame onto the wall. Then wait about an hour, giving the strip time to bond before you hang anything heavy.
When it’s time to move out, pull each tab slowly straight down along the wall rather than out toward you, and the strip should come away without taking paint with it.

2. Adhesive Hooks
How could you trust putting heavier items on a hook that isn’t screwed into the wall but supported by adhesive? Command Hooks made us believers.
Hooks are often rated for approximately 7.5 pounds, and heavyweight hooks can double that, so two can hold a framed canvas or a mid-sized mirror as long as you keep the total under their combined rating. They’re just as useful for wreaths, string lights, and the kind of seasonal decor you only want up for a few weeks, because the hooks come off without leaving holes and you can reuse them with refill strips.
Depending on the piece’s size and weight, you can use two or more (so nothing falls). The good news is that when you want to change your decorations, adhesive hooks usually come off without leaving any residue.

3. Washi Tape
You can use washi tape to create a gallery wall of unframed prints, postcards, or birthday cards.
It’s a low-tack paper tape, a bit like masking tape but printed with colors and patterns, and most craft stores stock it. A strip across the top of each print is enough for lightweight paper, though you can also tape all four corners, or run it around the whole edge in a contrasting pattern so the tape becomes part of the display.
Low-tack doesn’t mean no-tack, so if your paint is matte or a little chalky, try a small piece somewhere out of sight before you cover a whole wall.

4. Mounting Putty
Mounting putty, also known as sticky tack, has held posters to bedroom walls for decades. Roll a pea-sized piece between your fingers until it softens, press it onto the back corners of a poster or a light print, and push it firmly against the wall.
It also earns its keep with framed pictures you’ve hung some other way, since a small blob on each bottom corner stops the frame tilting or knocking against the wall every time a door shuts. On some paint, though, it can leave a faint greasy mark, so test it on a hidden patch first.

5. Office Clips
Binder clips are one of those things you probably already have in a drawer. Stick them to the wall with a small adhesive strip or a bit of putty and clip in photos and small prints, and you’ve got a display you can change in seconds, which suits anyone who’s just moved in and hasn’t settled on where things should go yet. You can also hang them on a rope or string to display your favorite photos.
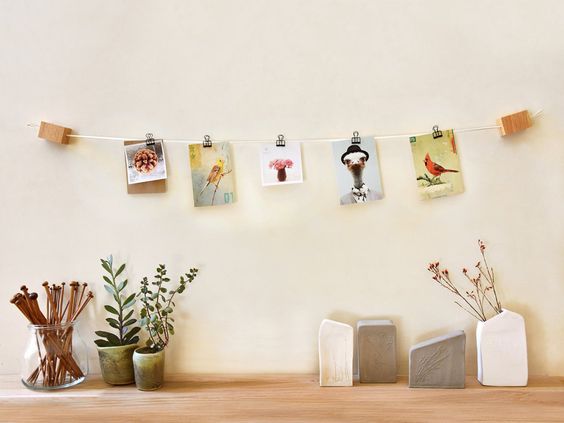
6. Leaning Wall Art
One way to avoid unwanted holes? Simply put your art on the floor or on a shelf, and lean it against a wall for support. Large canvases and mirrors look relaxed propped on the floor against a wall, particularly with a plant or a stack of books beside them, and smaller pieces layered along a dresser or a mantel give you a display you can reshuffle on a whim.
Leaning art gives off a casually elegant air, plus you can switch it right up without worrying about the holes you’ve put in the wall.

If you’re picking something to lean, a wide, moody landscape works well. Displate’s framed options mean a metal poster can lean just like a canvas.



7. Clever Props
Position a piece of furniture to prop up your painting, and dress it up with wall decor.
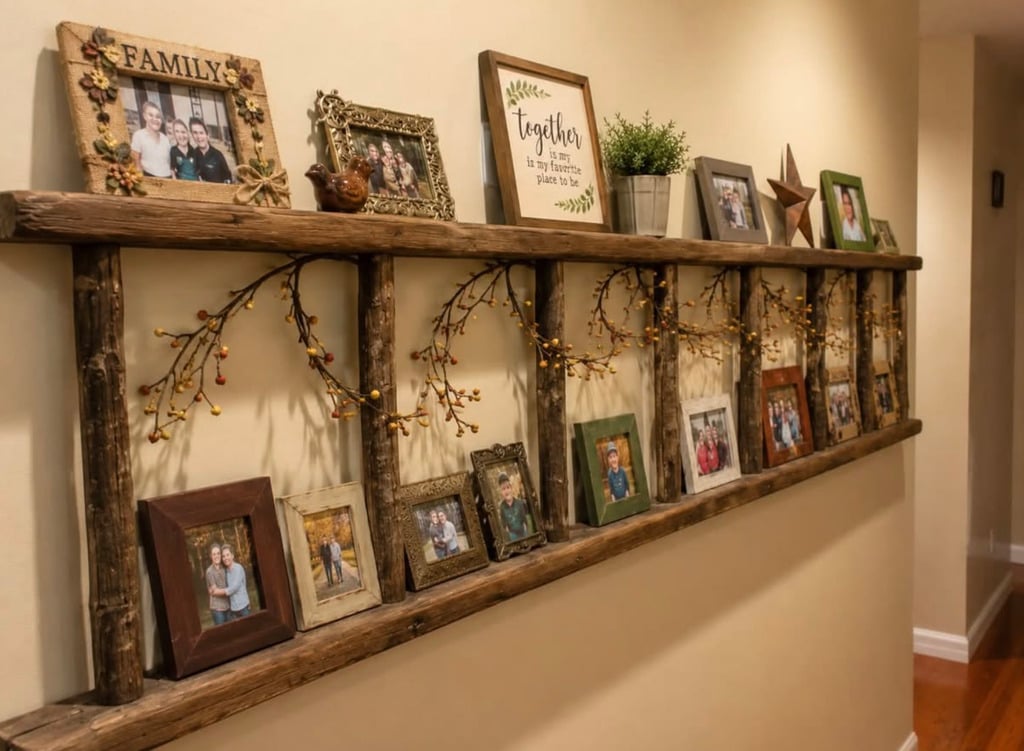
An old step ladder makes a surprisingly good display stand when paired with Command Hooks. Lean your artwork against the wall and use the rungs for a couple of small framed prints with a trailing plant tucked between them, and it’ll fill an empty corner without a single fixing. Chairs and stools work in the same way, and a vintage chair by the bed with a framed print propped on the seat has far more character than another nightstand would.
For the rungs themselves, smaller illustrated prints work best.


8. Easel Stand
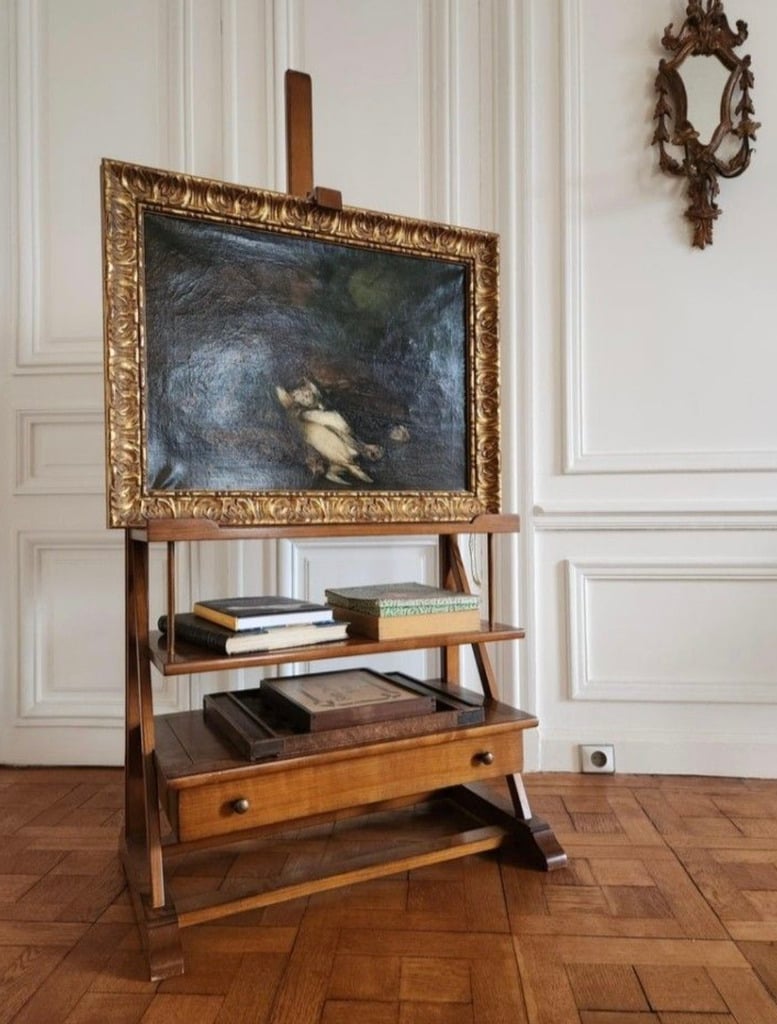
Put away your hammer and nails, and your fear of damaging the walls – you don’t have to hang your art at all. If you have an extra corner in your house with ample floor space left, try putting a framed piece or a stretched canvas on an easel instead.
A tabletop easel works for smaller prints on a desk or bookcase, and a floor-standing one gives a large piece real presence in a living room.
9. Picture Rails and Existing Wall Fixtures
Look for hooks, screws, vents, or knobs already in place that can bear a few extra pounds.
If you live in an older home, you might even be lucky enough to have a picture rail, which is a thin strip of wooden molding meant to support pictures, mirrors, or anything else you want to hang against your walls.
A built-in molding is also a dream for hanging art with S-shaped hooks and decorative craft wire.

10. Magnet Mounts
If you are anything like us and the thought of drilling a hole in your wall makes you cringe, try hanging wall art a new way – with magnets.
Displates are metal posters held in place with a magnet, which means you can take them off your wall and swap them out without the hassle of hanging something new. This makes it easy to move your Displates around, a perfect solution for those of you who enjoy mixing and rearranging your artwork.






Hang Your Favorite Artwork with Ease
Once you know how to hang pictures without nails, a rental can feel every bit as lived-in as a home you own. Start with whatever’s already lying around, a few binder clips or a roll of washi tape, and work up from there as your collection grows.
And if you’d rather have art you can rearrange on a whim, check out the metal posters on Displate, where every design mounts with a magnet and comes down just as easily.
