Messing with traditional photography is becoming more and more mind-blowing these days and our hearts cannot be filled with anything else but respect and desire for more. Artists outdo themselves in using different techniques and tools, and they only have one goal: to create a masterpiece. Want that too? Wanna know how to paste yourself into space to make it look like you’ve actually been there? Or maybe you’d like to literally have your head in the clouds? You’re in the right place. We asked a superstar for few tips and that’s how we came up with Seam Less’ photo manipulation guide for beginners.
1. The idea
Everything has to start with your own idea or basically anything that has ever inspired you
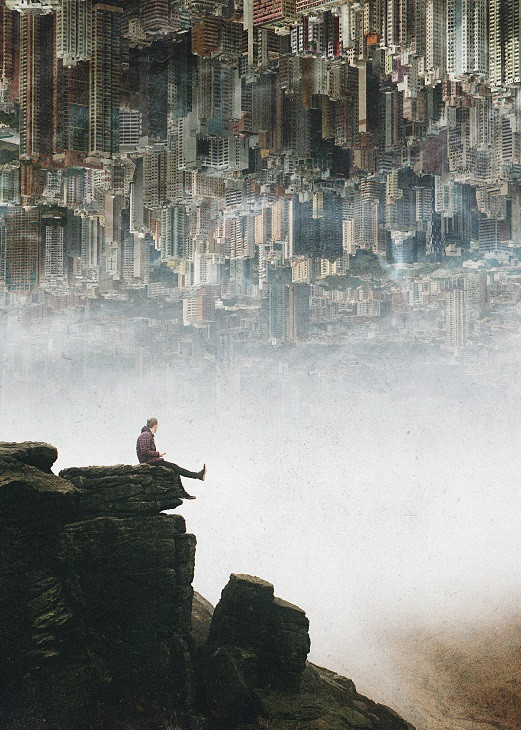
2. Resources
There are some really useful sites on the Internet, which let you use photos for updating, modifying or incorporating new elements into them. Remember – you cannot copy someone else’s works and sell them as your own. Most of stock websites let you use their resources only if you use them creatively (make some changes in the composition, colors etc.).

3. Programs
There are many programs you can use to create photomanipulations, like Photoshop, which is obviously the most popular, but it’s not difficult to find some really cool apps (like Union app), they do a nice job too!

4. Resolutions
Now it’s time, when you need to start preparing for more technical issues during the execution. You have to come up with your own photo resolutions in the program you’re using, I always use a 11×14 at 300dpi
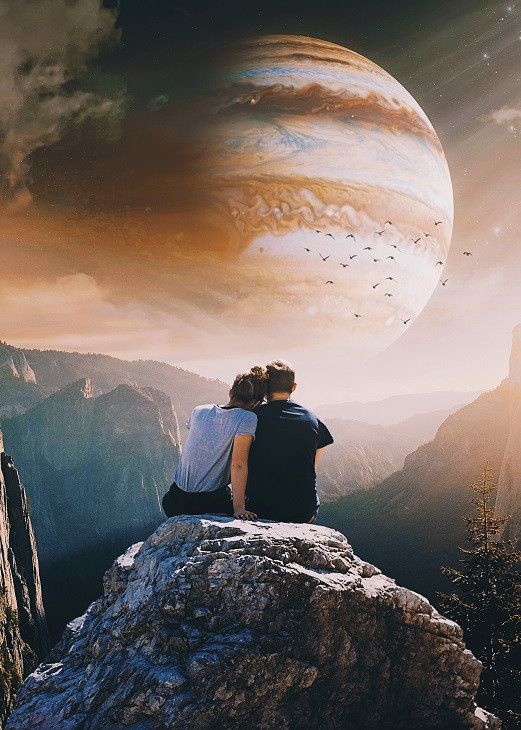
5. Use the pen tool
Always use the pen tool to make a selection and mask your layers so, if something goes wrong, you’ll be able to fix it along the way!

6. Save!
Use the save button as often as possible! Remember to save the characters as PNG files, because you might need them for some other reason a little bit later (so create a special folder and save them)
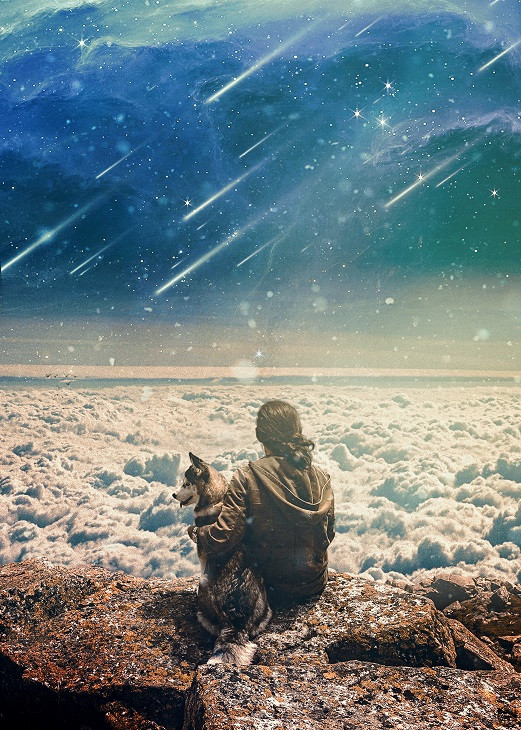
7. Select
Try to select objects with the pen tool as soon as possible (if you’re using Photoshop)
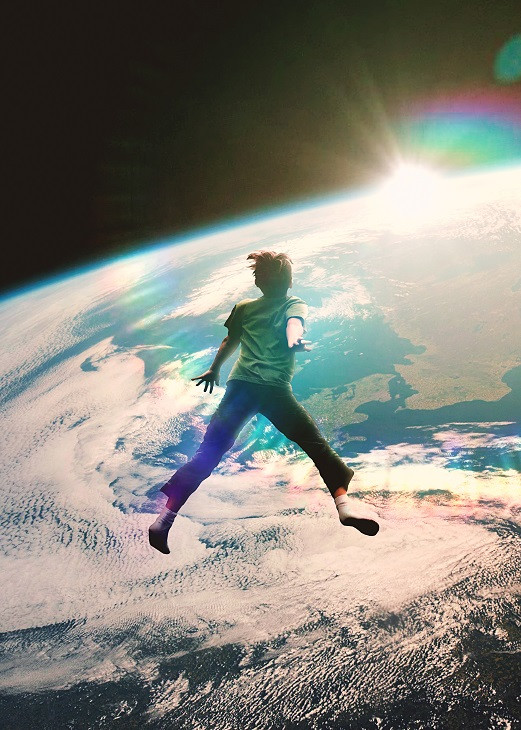
8. Make the characters look natural
Make the characters in your work a consistent part of the pic. I sometimes see people’s work that doesn’t use fx, like inner glow satin inner shadow etc., and it makes the work look unnaturally
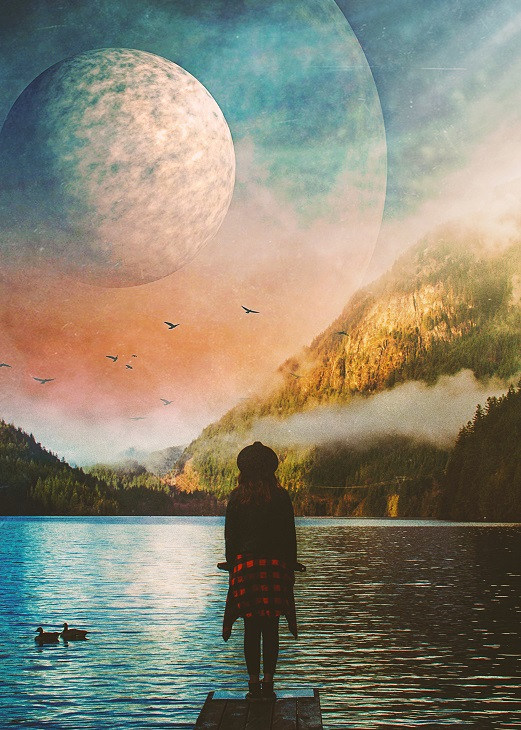
9. Remember about light sources
You have to show the sources of light in the composition! Otherwise, your picture will look flat
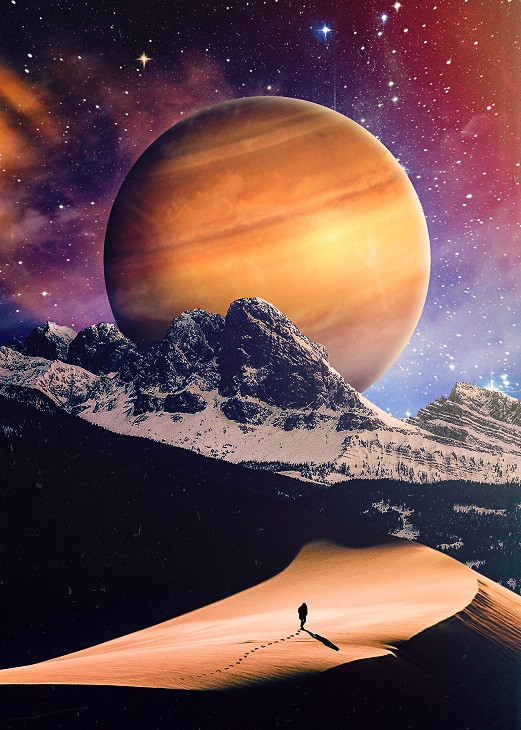
10. Play with textures
Have fun with textures! This part of work may be tricky, but trust me, your art can tell an amazing story with a perfect and catchy foundation
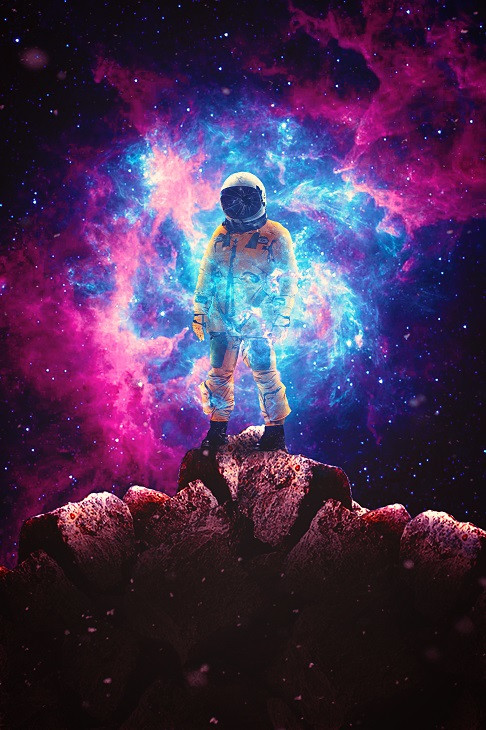
11. Adjustments are the key
Finally, create adjustment layers, like color adjustments. color balance, contrast, to make it all blend together. You can also try using apps, e.g. VSCO Cam
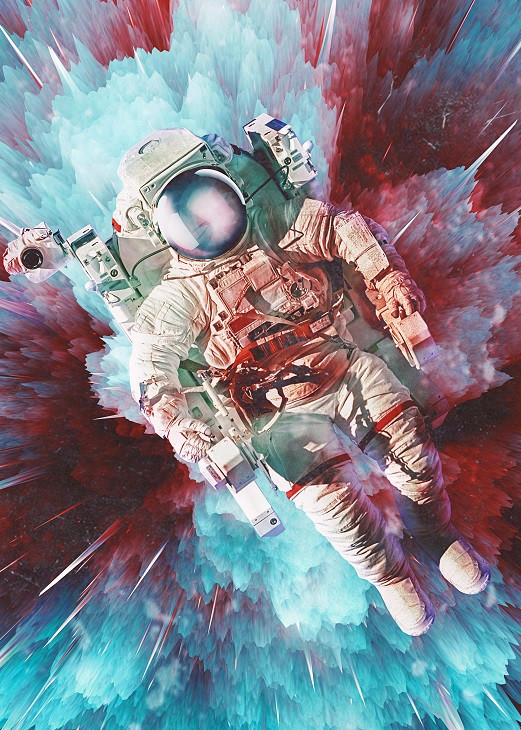
12. Show it to your mom
I bet she’ll love it! 😉
Now when you know the basics – get to work! Remember, you can always peek in Seam Less’ gallery!

