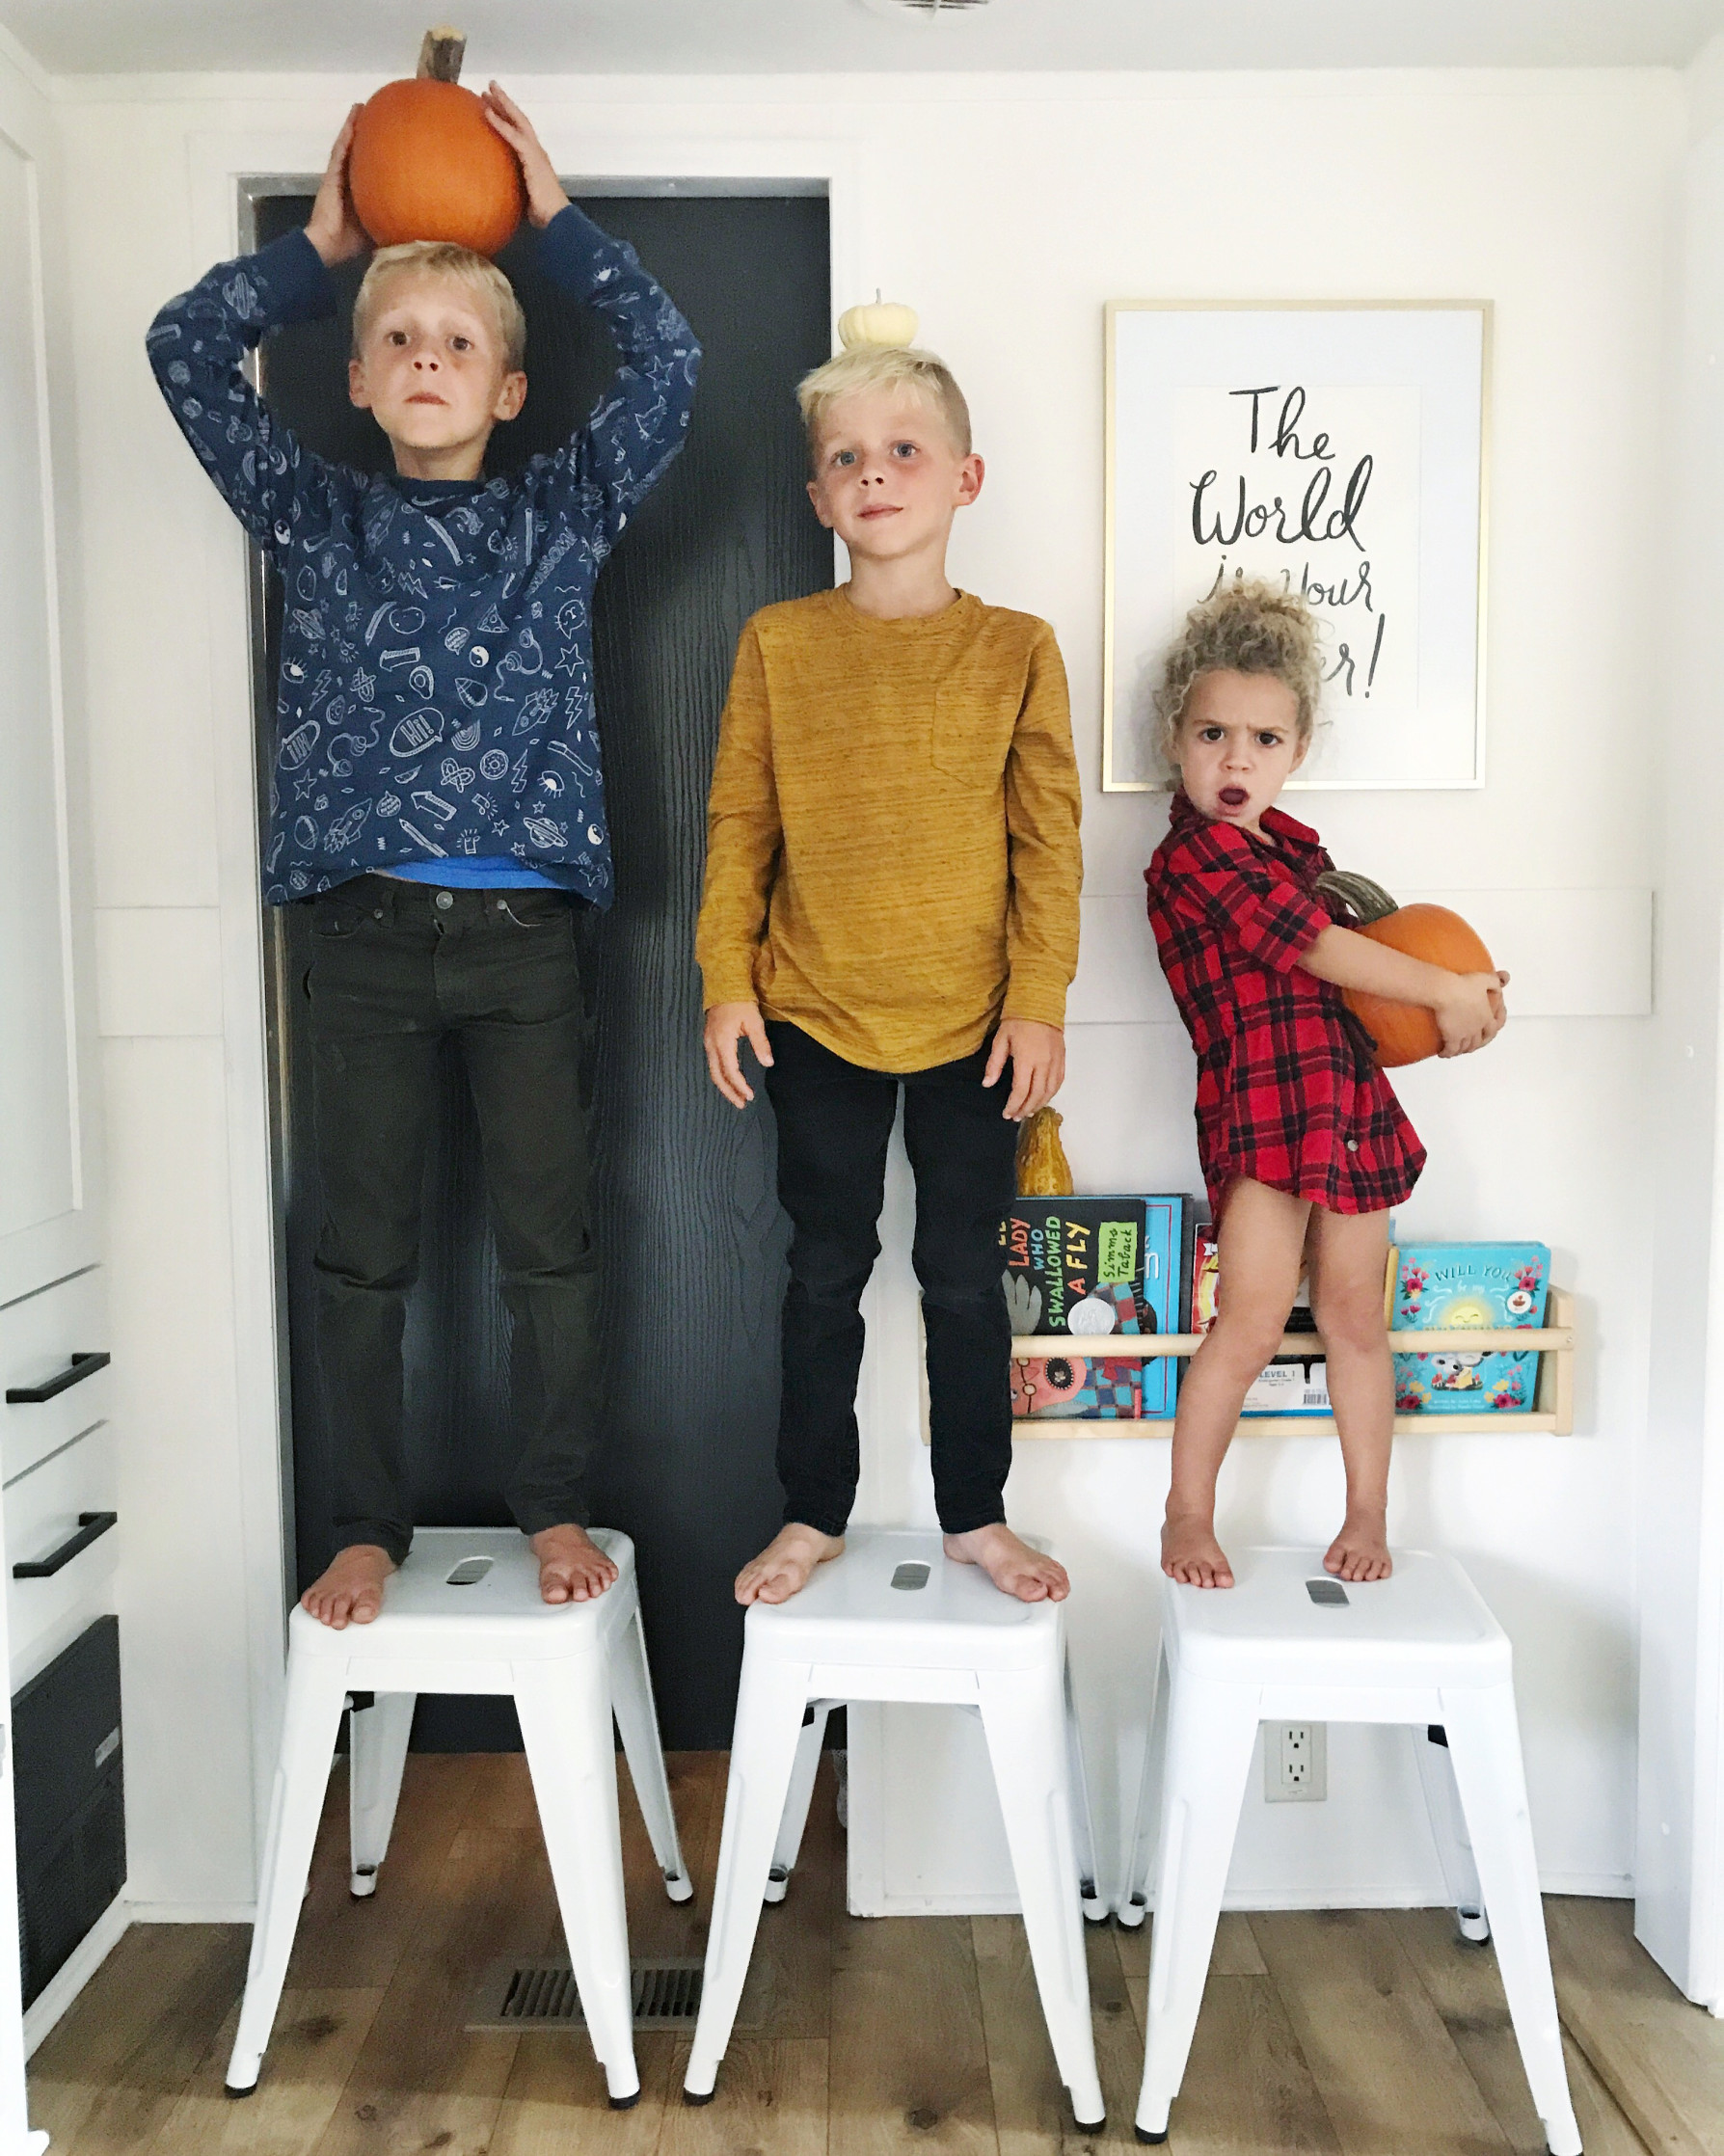
Meet Ashley Petrone who runs a beautiful blog Arrows and Bow. Last year she and her husband decided to sell their 5 bedroom home and move into a trailer with their three kids. Now she’s running an inspiring Instagram profile encouraging people to find joy in the in-between. Here are her tips for taking beautiful home decor pictures!
When I click on that little button that leads me to the magical world of Instagram, what do I want to see? New and old faces, stellar spaces, and everything in between. But there’s something special about a beautiful page, with photos that catch your eye and calls you in, to dive in deeper. So what does that look like? In this article you’ll find my tips for taking beautiful home decor pictures for an Instagram account.
It’s funny how much can change in a year. Last year I was “just a mom” who homeschooled her three children. I took care of my home and my family and it was fine and dandy. But I had this creative side that needed to be unleashed! After talking with a friend, I was encouraged to start an Instagram page and a blog and share all of my design ideas. Little did I know where it would lead me, and what passions and strengths I had hidden inside me. I wanted to create a beautiful aesthetic and feel when people saw my squares on Instagram, while also staying as true to “real life” as I could.
When sharing pictures on Instagram and for a blog, it’s important to take quality photos. I didn’t have the money to invest in a real camera so I used what I had on hand, my phone camera.
So how do I do it? Here are my tips for taking beautiful home decor pictures for an Instagram account.
Be intentional
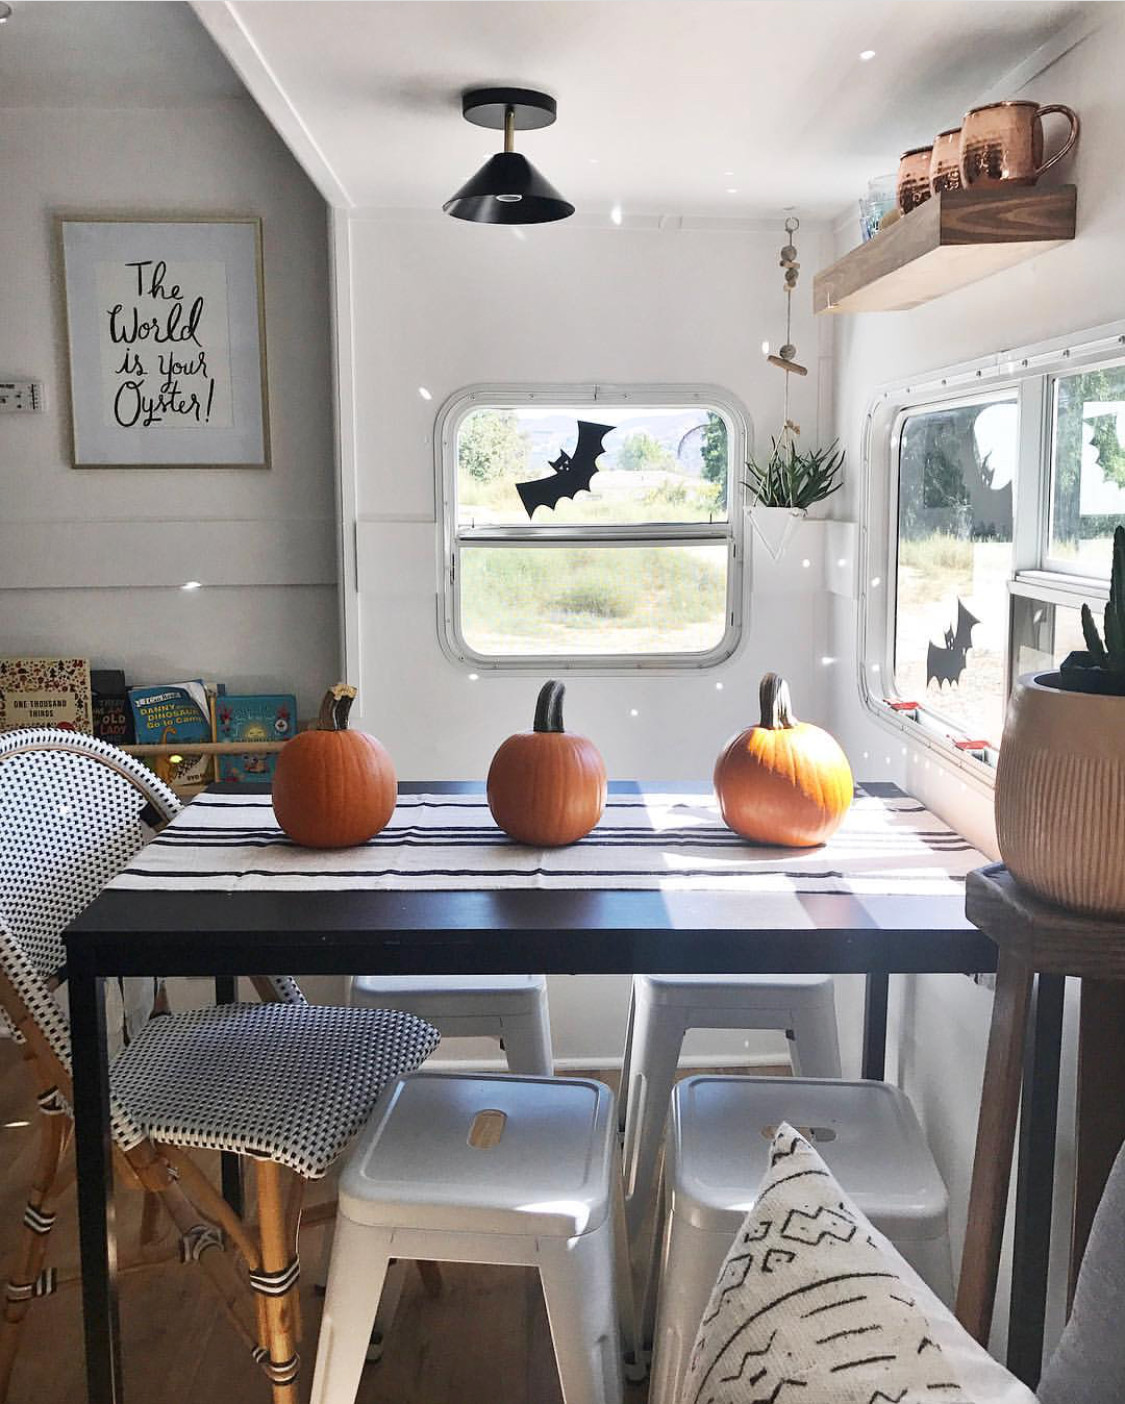
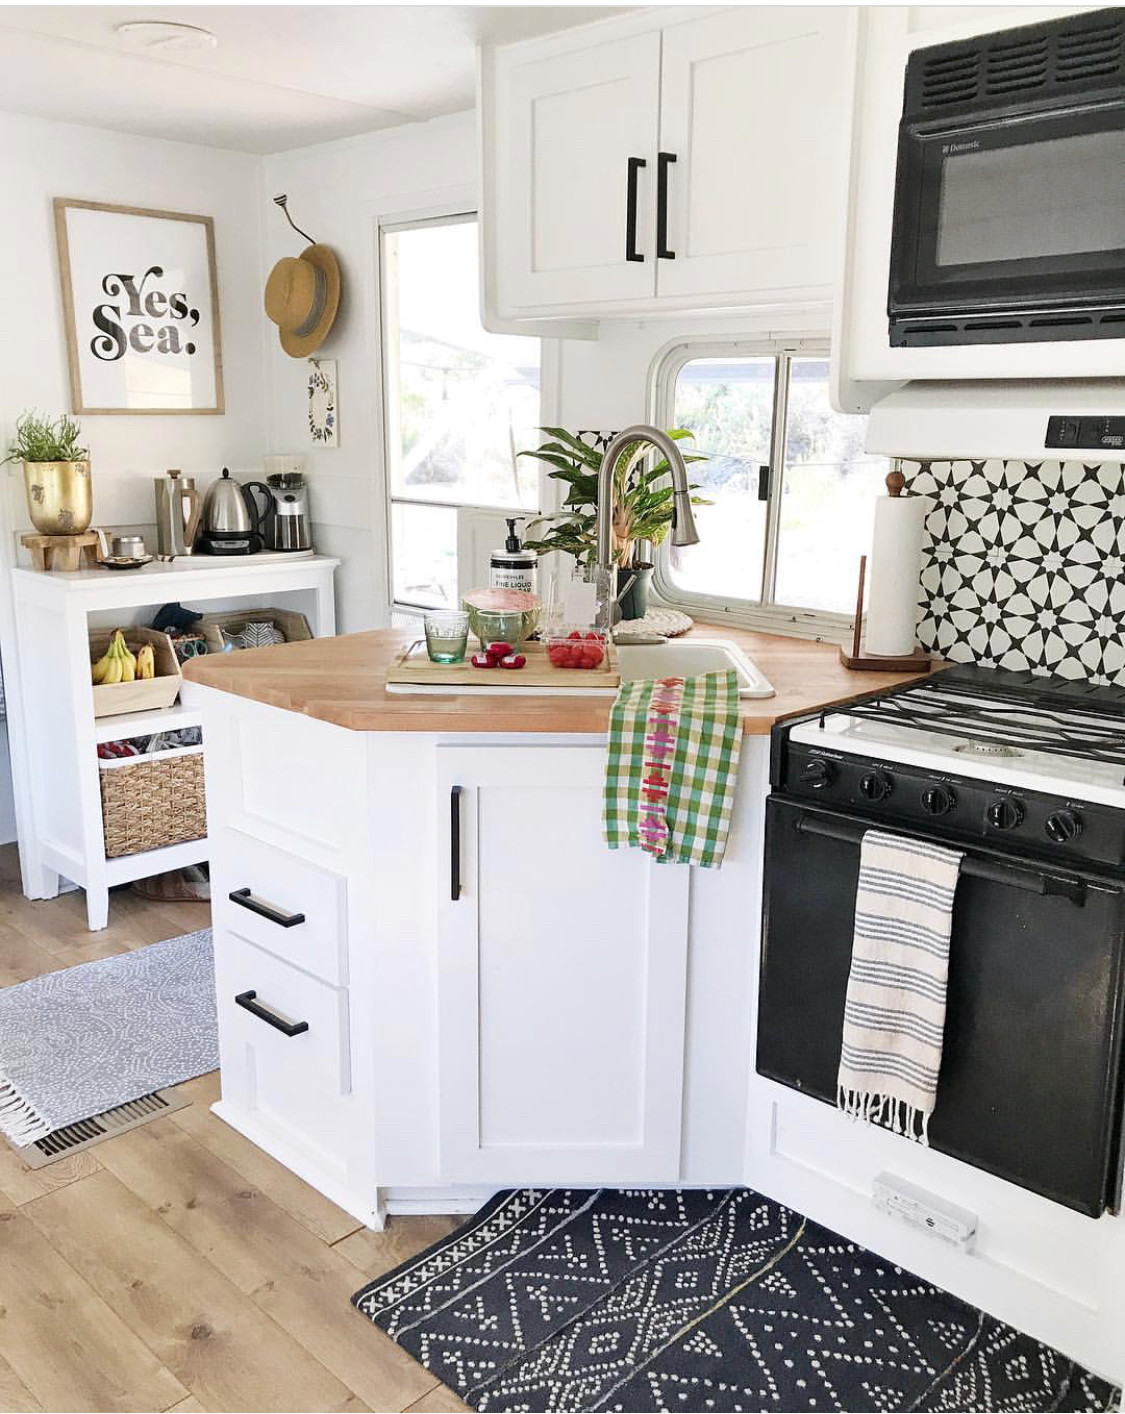
Before we get to the actual picture taking, it’s important to be intentional about what you’re shooting. What are you shooting and why? Does it have meaning behind it? Is the space tidy? Does it look pleasing to the eye? These are all questions I ask myself. And while every once in a while you get lucky with a random whim shot, most of the time I’m intentional about the shot. It’s important to share your home in a way that feels natural and not completely staged. Example: If you’re taking a picture of your kitchen, a dish towel can be hung over the counter to add depth and it’s naturally something you would do, you just wouldn’t have it all crumpled up. Lay it nicely so it shows well in the shot. Be thoughtful about what you are sharing.
Lightening is key
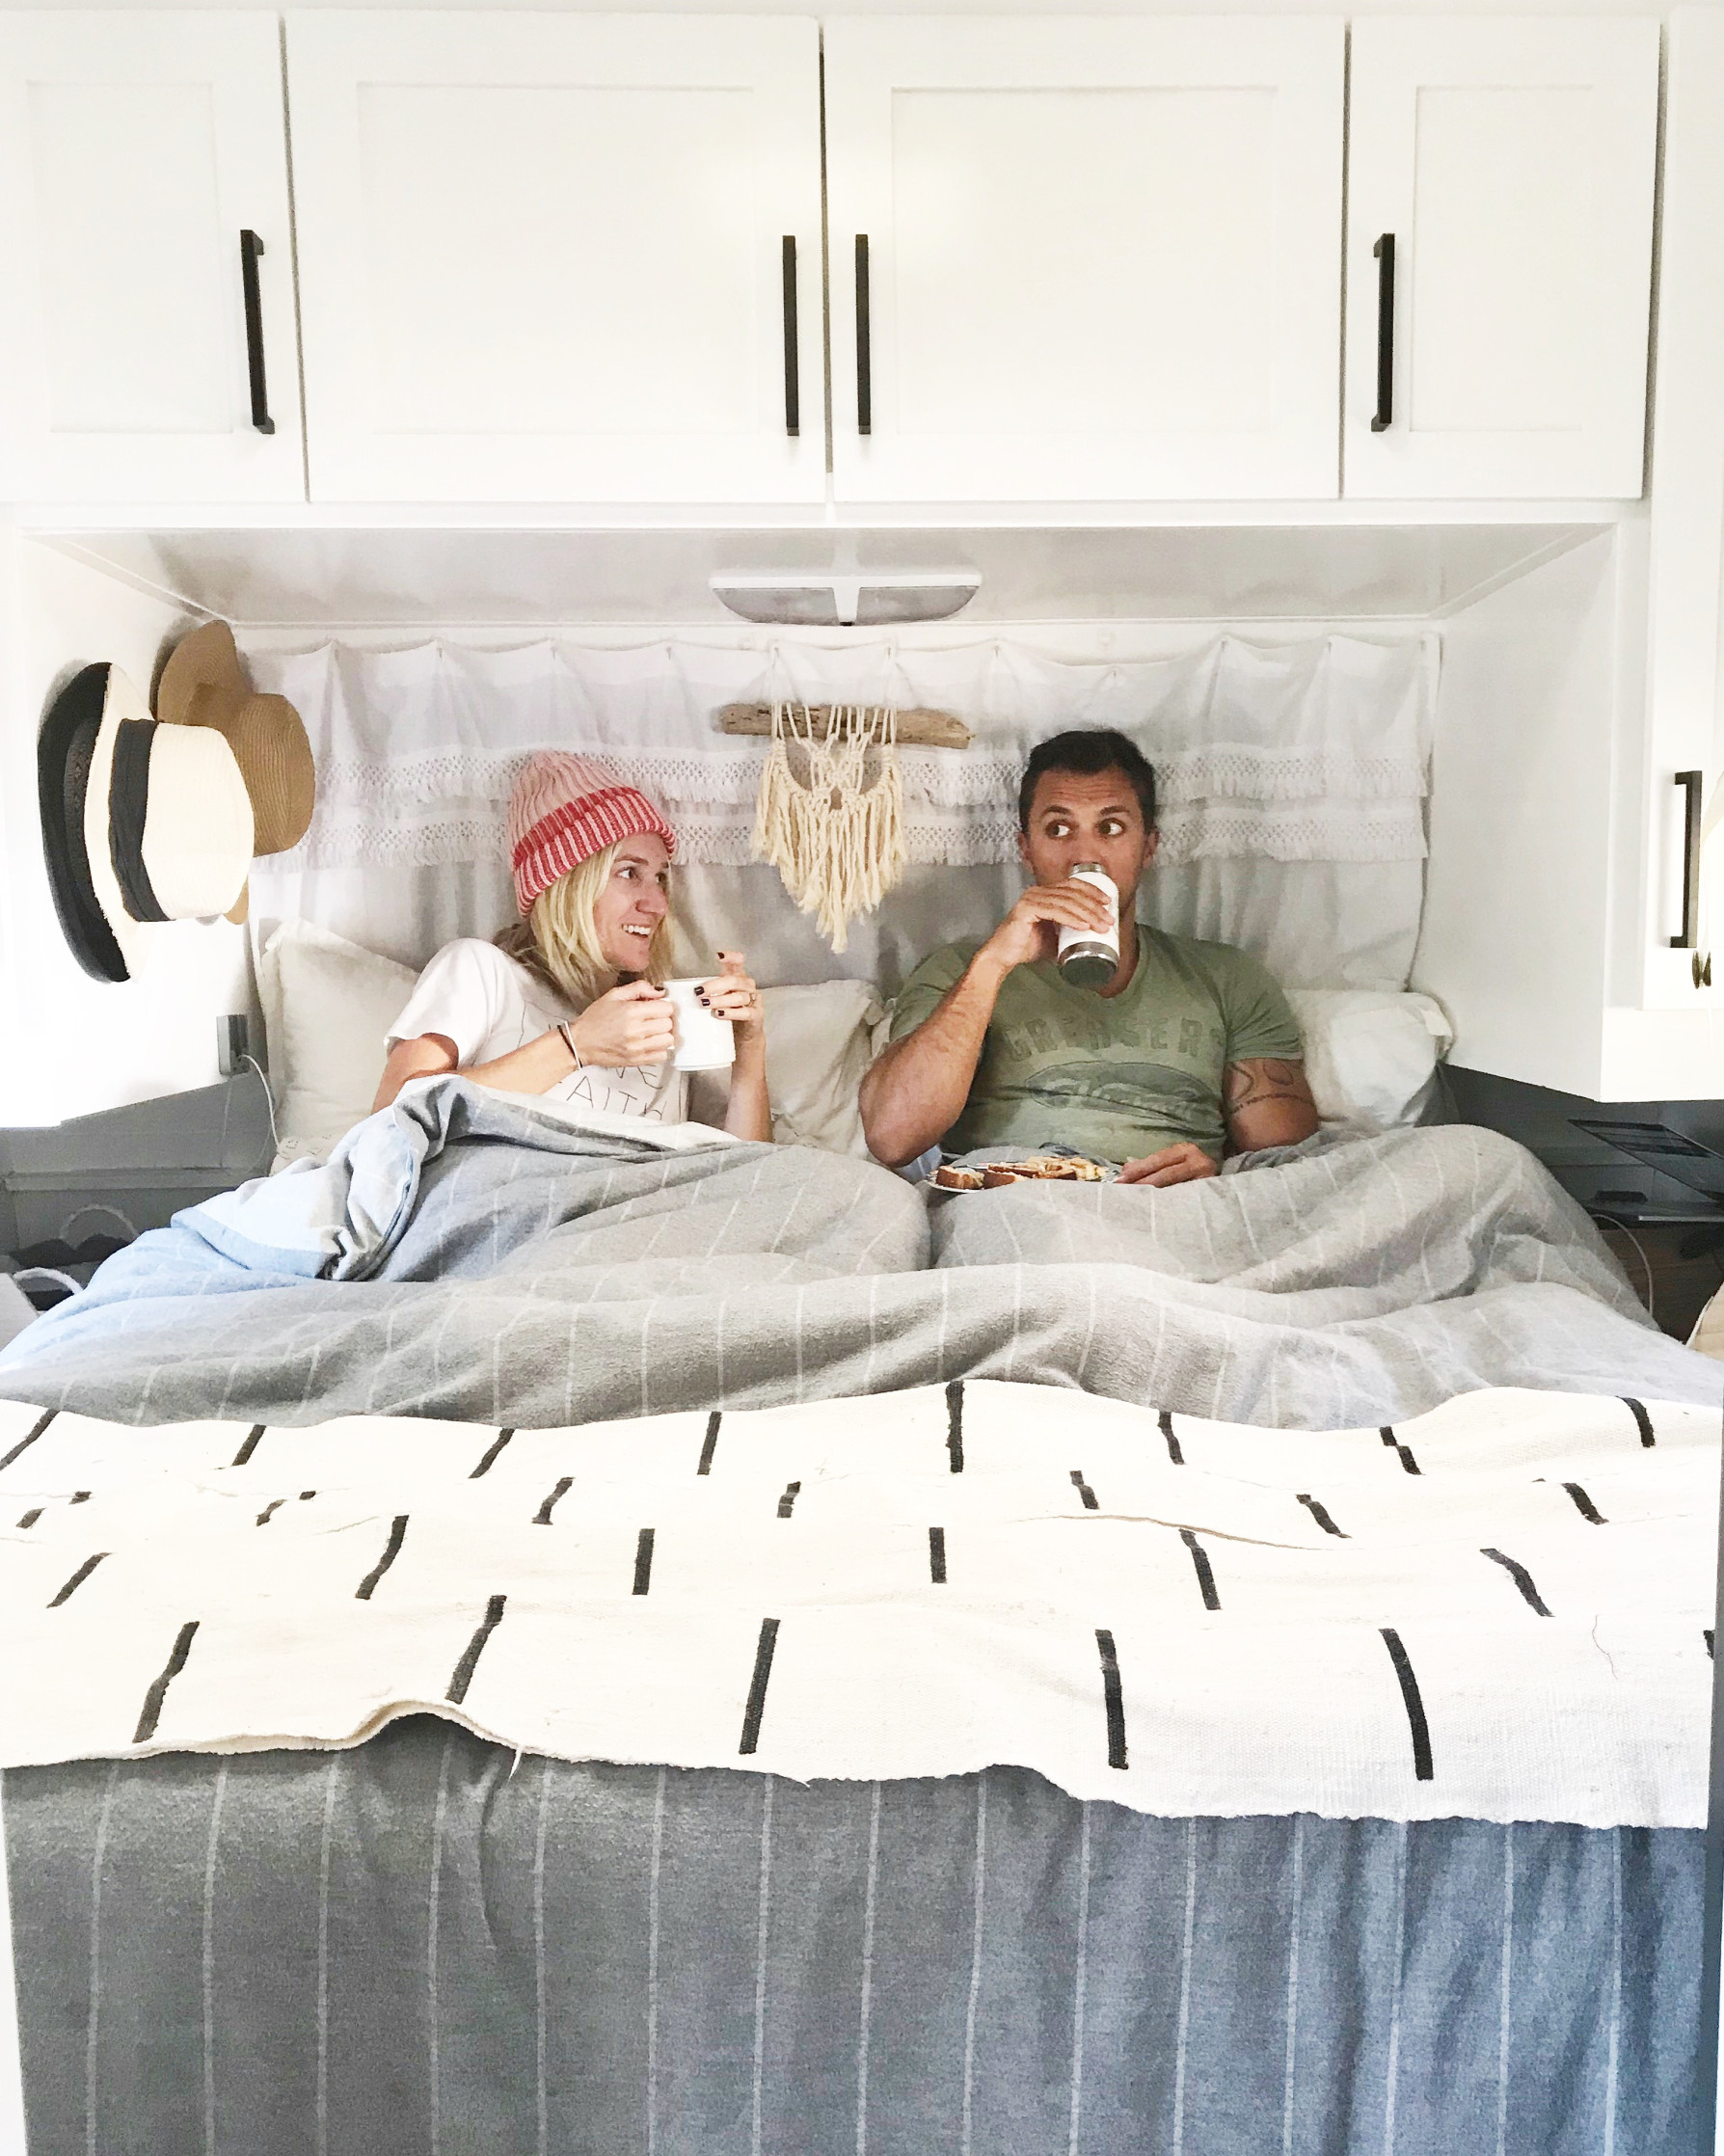
Typically mid morning or mid afternoon are my favorite times to shoot. Natural indirect lighting is beautiful and creates a crisper picture all on its own. So I would play around with your home and it’s lighting. Sometimes I walk around with my camera on and see what naturally looks good through the lens. Never do I shoot with an actual light on, it adds a yellow cloud to the photo. Keeping the light natural and not shooting directly into the light. That gives you a washed out glare look.
The way you shoot
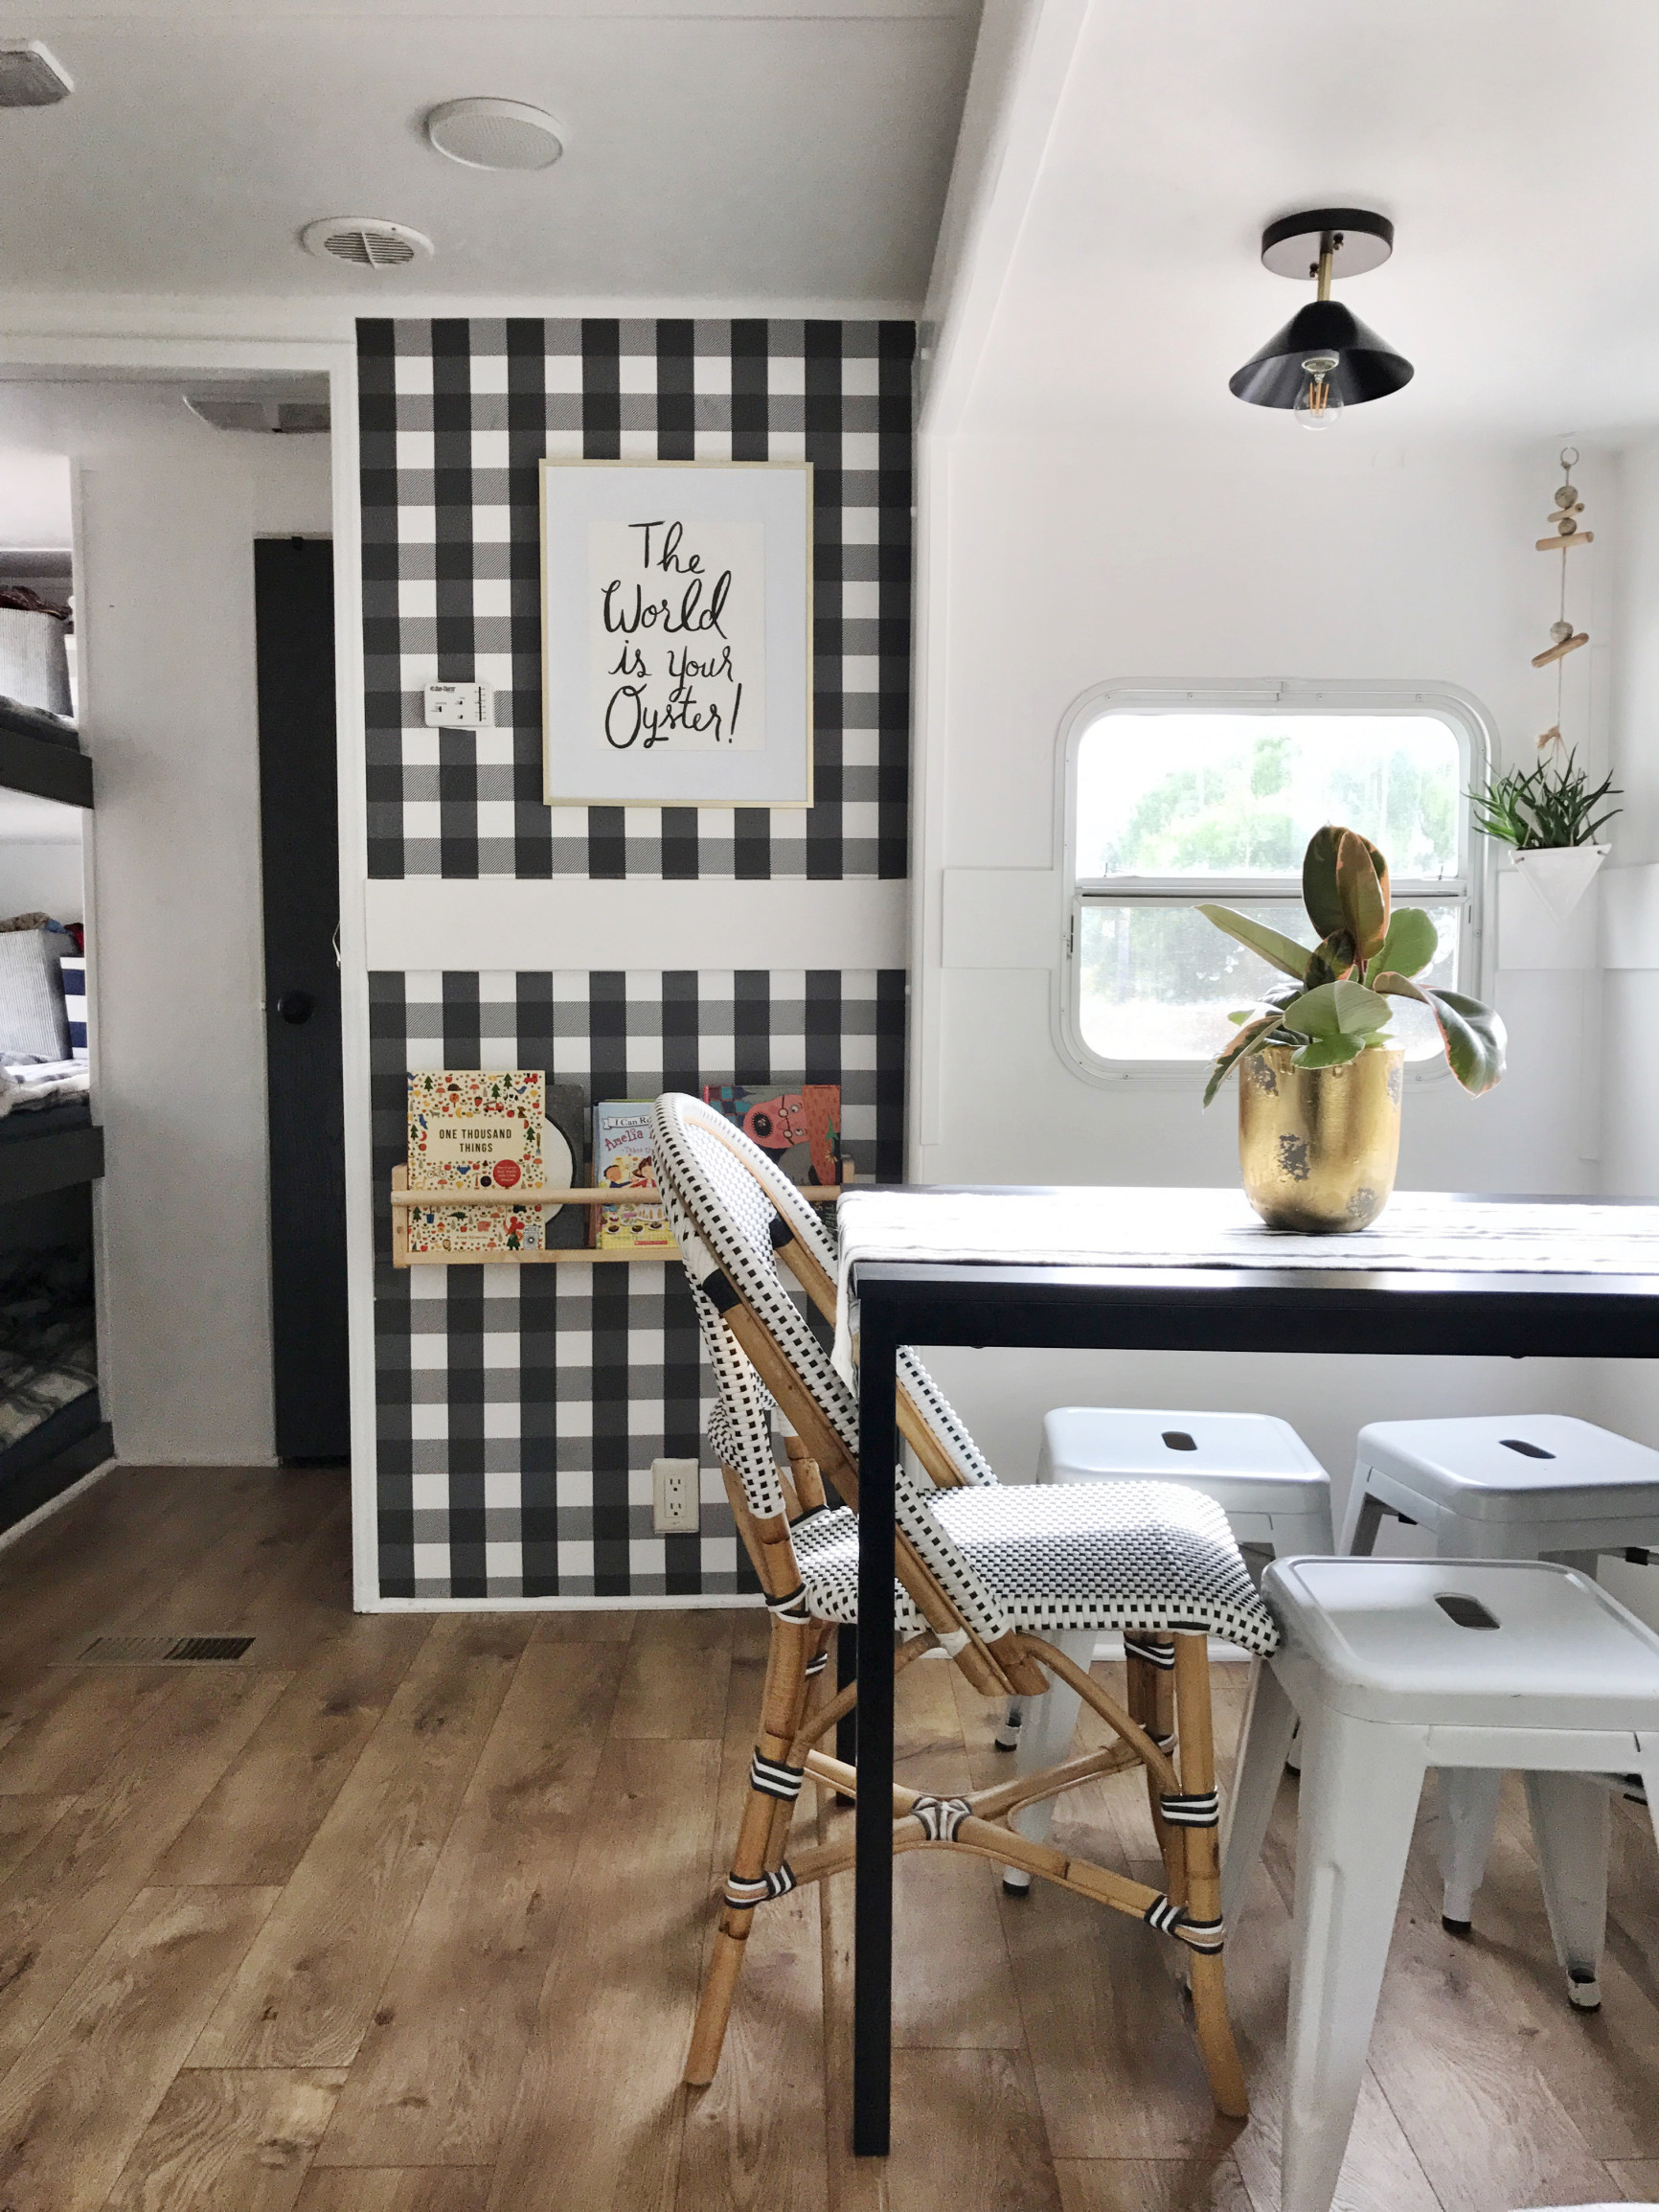
Personally I love shooting with symmetry. I don’t take a lot of angled shots, I like the look of a direct shot. Looking directly at a wallpapered wall is more attractive to my eye than a side shot. I want to see it’s full beauty, straight on. If I do take an angled shot, I still try to balance out the photo by moving pieces around. I also like to play with color. While most of my home is neutral and has a lot black and white, a pop of gold in a shot really catches your eye when scrolling. Or adding a red scarf hanging on a hook is another idea. Think about what catches your eye when you’re flipping through Instagram. I also like take multiple pictures of the same space, swapping one object in and out for another and then I compare the images to see which one I’m naturally attracted to at first glance.
Mastering the editing process
Editing. This is important because it’s your finishing touch and I feel like so many people do it wrong. You want to first decide if you’re going to filter your photos or not. I don’t add filters to my photos because I personally like a real life feel to my pictures. I use the editing app Afterlight and all I do in there is brighten and sometimes clarify. After I edit in there I upload my photos directly to Instagram and I finish up the editing with their editing tools. This is where you really can get in trouble though because there are a lot of options and most people over saturate or over brighten their photos. In the Instagram app, I typically use the “highlight” button to add more light and brightness without over brightening my pictures. Then I use the “shadow” tab to add depth and slightly darken, depending on the photo. I always use the “sharpen” tab on the pictures as well. But another one to be careful because you don’t want to over sharpen. Editing in Instagram is great too because you can adjust the lay out of the photo. If your picture is a little wonky you can straighten and crop it fairly easily. Play around with the tabs, remember you want to enhance the picture and bring it back to life, don’t over kill it.
Keep the profile coherent
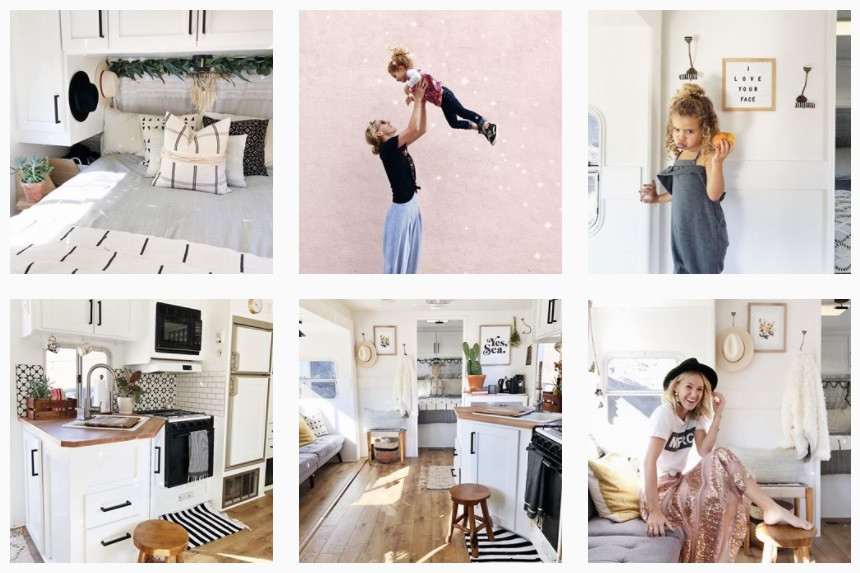
See the big picture in your drafts folder. The goal is get people to see your picture, click on it, follow you, and stay. So while each individual picture needs to look good, all of your pictures should look cohesive with one another. Instagram has an awesome feature called “drafts”. After you edit your photos, you can click the back button and it will give you the option to save or discard the photo. By clicking “save” your photo gets placed in a draft folder. I use this all the time! It allows me to take multiple pictures and save them for a later date, because who has time to take photos all day everyday?! Not me! It also allows me to see what my pictures will look like laid out next to each other. An awesome feature right there in the app!
Overall practicing and playing around with your camera is the key. Walk around with it on and see what catches your eye and attention. Search for that natural light and start shooting! Consistency is key, so once you figure out your style, stick with it. Happy snapping!

